Keep calm and pet a cat

IMG_0924

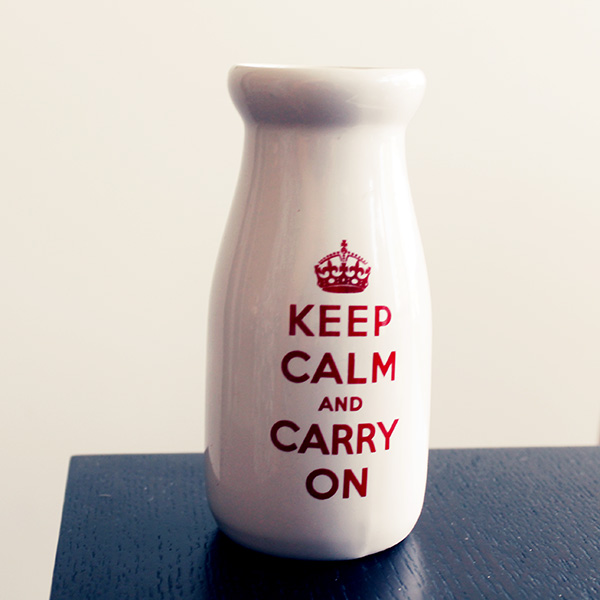
I enjoy drawing on porcelain. That smooth surface… And I got this lovely bottle – vase from garage sale. I’ve been collecting different things I could draw on for a year or more. Now I think I need to finish all those projects and get rid of things, just to make more space. “Keep calm and carry on” was the poster British government released as a motivation and encouragement for people in 1939, just before the war. It has interesting history, read more here. But now this has been overused everywhere. Probably because of pretty nice typography, some retro nostalgia or something else. I wanted to remove the print, but nail polish remover, white spirit and other liquids didn’t work. Another idea was just over paint it. And then the crown gave me an idea.
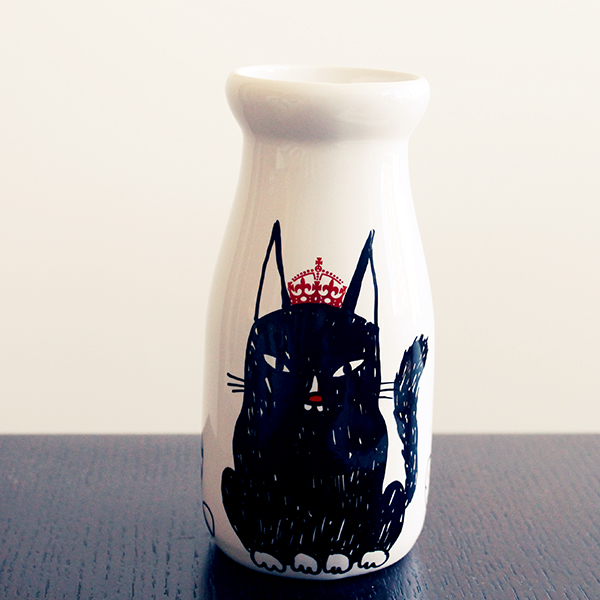
IMG_0976

Here it is.

IMG_0974 IMG_0975
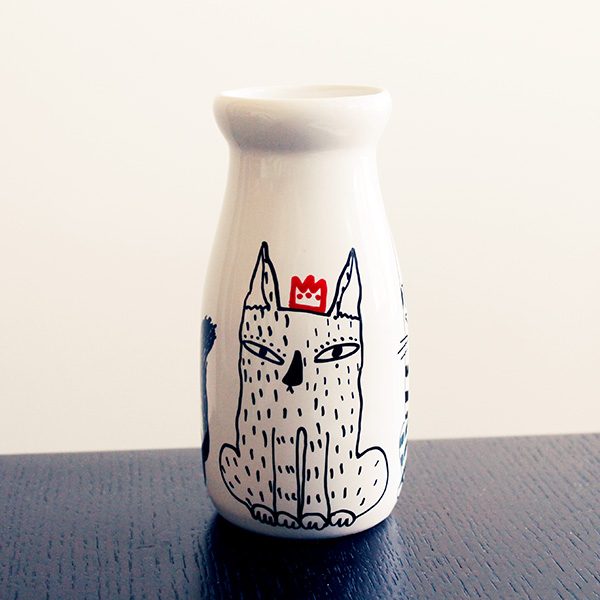
Other sides. I am thinking if I should post it online for sale or bring it to some gallery/shop.
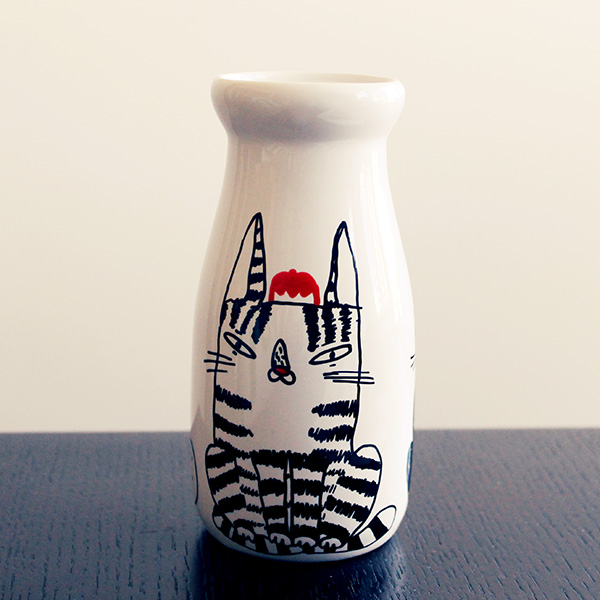
DIY Christmas Tree

diy christmas treeLately it was busy period with all Christmas works. And once I’ve finished them I took some time to get ready for Christmas. Oh, I missed those little crafts!

This is a simple project.
1. Cut a pyramid out of cardboard.
2. I didn’t get big enough piece, so I cut 3 triangles and taped them together it with a masking tape.
3. And then into a pyramid. See how I cut the “legs” at the bottom. It is unnecessary.
This picture looked dull so I added some colour palettes I was thinking of using for Christmas tree.
4. Cut little scales out of coloured paper. I folded some tissue paper and then cut heaps of scales at once. The problem you need to use double layer of them – otherwise tissue paper is too transparent. I also used a nice coloured blue paper napkin (just because of the colour) and golden crepe paper for more festive look. You know, you could cut those scales in different shapes, maybe more pointy, triangles for more spiky tree. Or fringed pieces. Lots of possibilities!
5. Start gluing from the bottom. Draw a horizontal line with a glue stick and attach those little scales.  Then start the next row on top.
6. Ta-da!

It still misses the top, I just haven’t decided whether it will be a star or something more funky.

Tags

There are so many nice blogs and websites with some fun DIY projects. Sometimes it feels that it would be nice to make something. But what and why? And now I had the reason – I made some t-shirts and needed some hang tags.

This is how I did it. First – cut the cardboard.

Put it in a neat pile.

Spray paint the sides. If you try this – don’t forget:
1. to do that in a well ventilated room or outside;
2. cover everything around with newspapers;
3. cover the top card with peace of paper if you don’t want to paint it;
4. put something heavier on top of the pile;
5. spray from +-30cm distance.

When it gets dry, I just stamped both sides. This stamp is laser cut, but you can make a stamp yourself.

I made a hole with a thick needle. It would be nice to use a hole puncher, but this cardboard would kill almost any puncher.

About stamps – I don’t have pictures of smaller stamps now, maybe another day, so there is a big stamp I made for paper bags. Too big for stamp pads, so had to apply paint with that rolling thing. Have no idea of it’s name.

Funny thing – I made tens of these bags with red paint and it didn’t get dry even in a week.

Well good news – paint dries in a sunshine in an hour. S I had to hang all bags on a clothes dryer outside, something like 7 bags at a time. It took a while because we got sun only a few hours in the morning now 🙂

Dragons

It seems that it is pretty difficult to draw dragons. Especially in a nice way. Drawing cats and rabbits is easier, ha ha. But I made it! So, these are few dragons from the calendar of 2012.

I didn’t print it this year, but it is available on zazzle.  I always felt sorry about unsold calendars – at the end of February or March no one wants them and they look so sad… So zazzle is pretty good thing, a calendar is printed only if someone buys one.

Or get it at etsy and print it yourself.